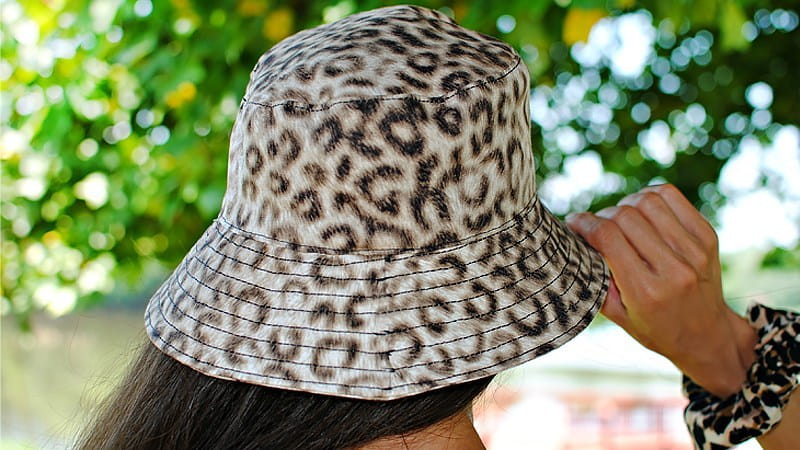
As a mother of 3 boys who love being outdoors, I’ve had my fair share of sewing bucket hats. In the Summer we spend most of our time outside near the water, at various sports, or just playing in the yard. I’ve made so many for my children but never really made one for myself. Seeing they’re on trend lately (90’s cool) I thought it would be fun to make one for myself this time. I even made it so it’s reversible. You can have so much fun with these! Get the details below and sew your own.
Supplies:
- 45” 5/8 yd. 60” 1/2 yd exterior fabric (I’m using a medium weight canvas)
- ½ yard liner fabric (I’m using a medium weight cotton
- 1/2 yard medium to heavy weight interfacing for brim. (*I did not use interfacing on the other parts because my fabric was sturdy, if you want you can stabilize the crown and the top).
- Thread
- Pattern (you can use this or any pattern)
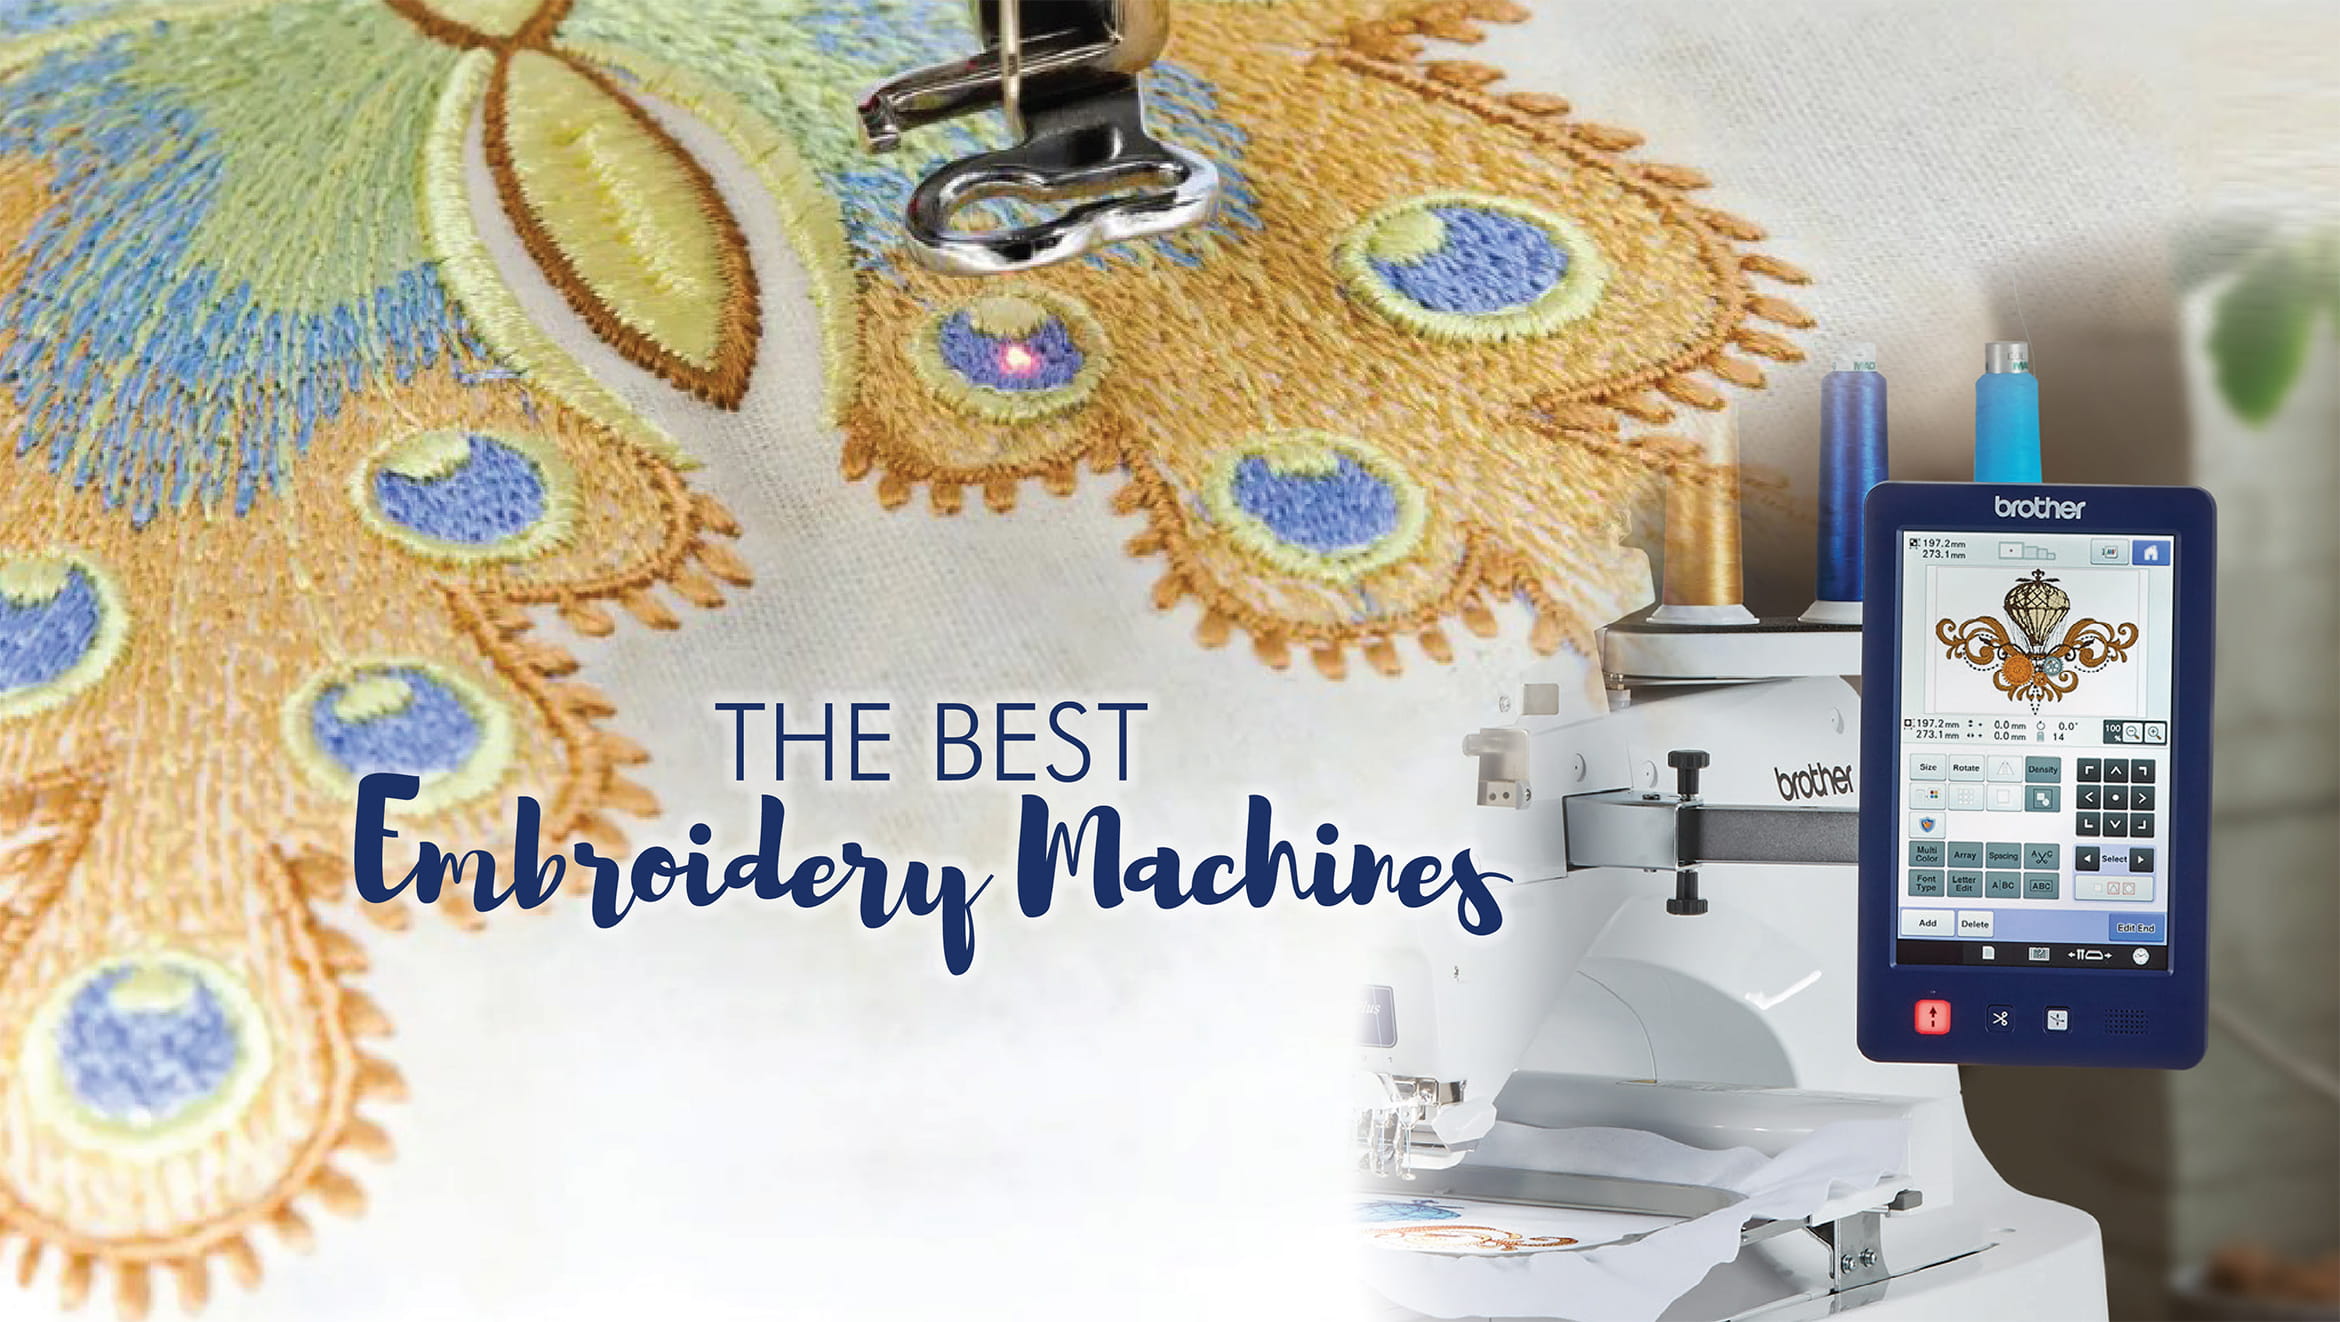
- Brother A80

*I drafted this pattern and it fit my head well. I am sharing the pattern but understand you may have to adjust to fit your measurements. I also suggest making a sample first to make the adjustments necessary before the main one. I had to do a couple at first. Feel free to use your own pattern as well.
Cut out pattern for main, liner, and interfacing.
Press interfacing to liner of brim (mine are the same material).

Stitch crown ends right sides together with a ½” seam allowance.
Press seam allowance flat.
Pin crown to top (circle) right sides together, easing to fit if necessary.
Sew with 1/4” seam allowance all the way around.
Clip curve seam allowance if necessary.

Repeat for the liner.
Topstitch if you’d like around the top of the crown and the center seam.

For the brim.
Stitch side seams (RST) on both main and liner (1/4” seam allowance).
Place liner and main (RST) matching seams and stitch along bottom edge (1/4” seam allowance).
Clip seam allowance.

Flip right side out and press.
Baste stitch along top edge to keep raw edges together.

Start at seam and topstitch outer edge of brim. Stitch as many rows as it takes to get to the top. Spacing rows ¼” apart. (*use a medium weight thread for extra detail).

Pin brim to crown (RST). I had the seam of the crown in the center and the seams of the brim on the sides.

Stitch the brim to the crown (1/4” seam allowance).
Place main hat (brim included inside the liner (RST) and pin

Stitch the liner and main together leaving a 3” opening (1/4” seam allowance)
Flip right sides out through the opening.

Stitch the opening closed with a slipstitch or topstitch all the way around the edge to finish it.


| This article has been republished from Brother Sews USA. The original article can be seen here: http://blog.brothersews.com/projects/make-your-own-bucket-hat/ |